El Espino · Electrical planning
How I Would Surface-Mount 1-Inch PVC Conduit on the El Espino Block Walls
External sources open in a new tab so you can keep your place.
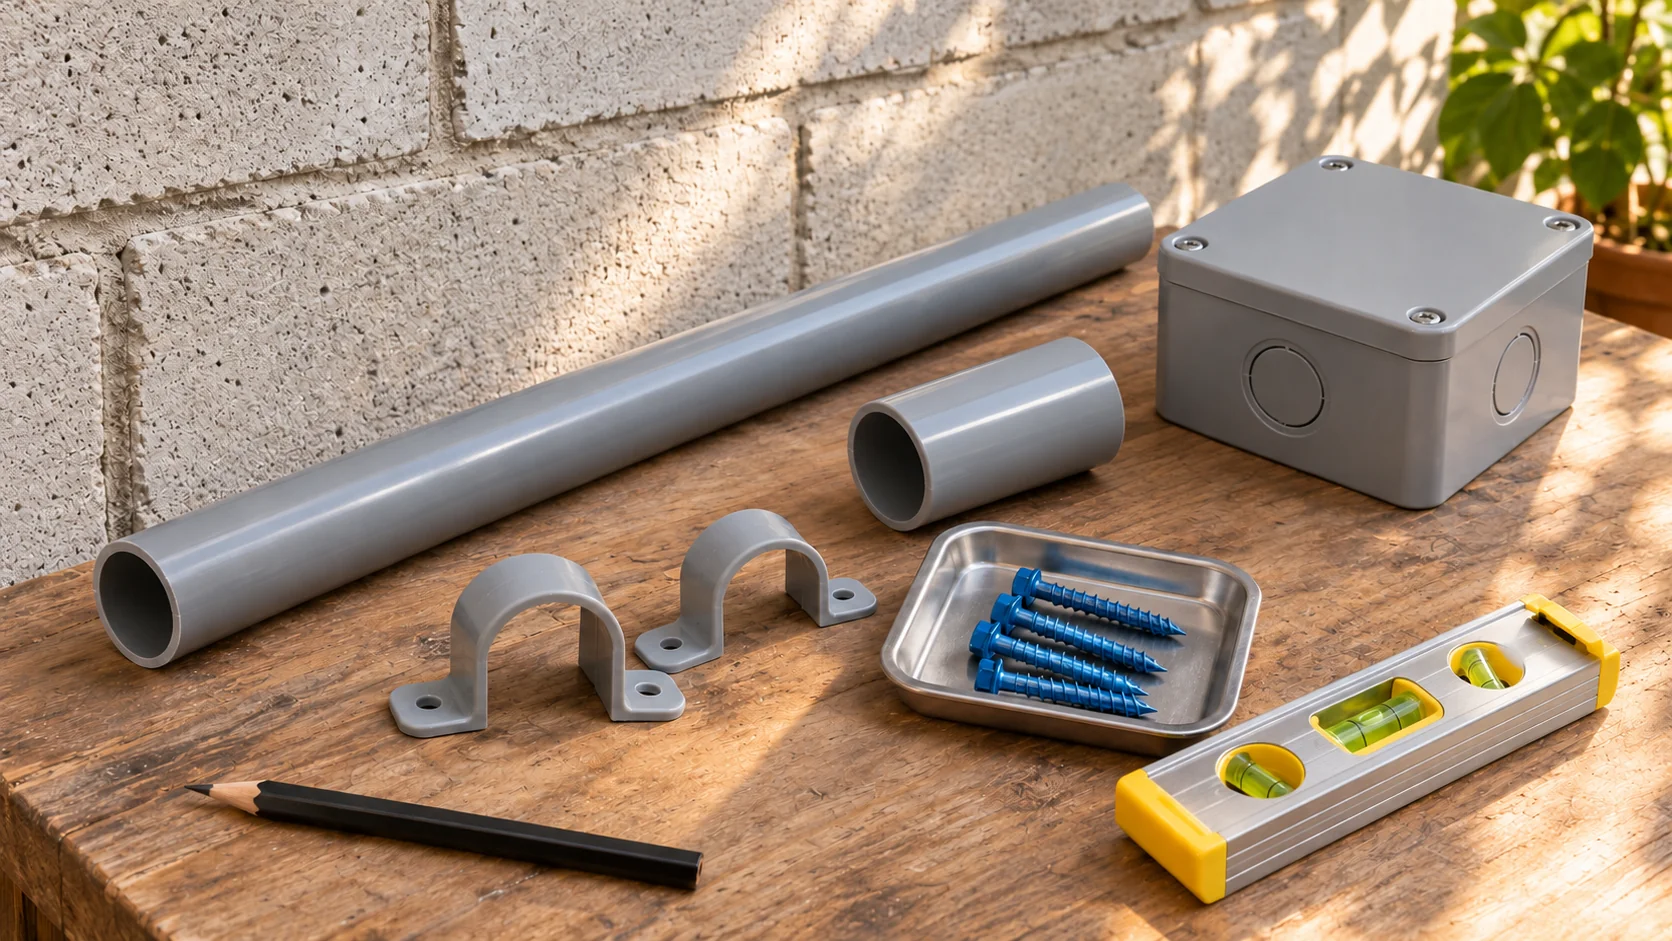
One-inch electrical PVC, Tapcon screws, and metal clips sound like a straightforward shopping list. Put a straight line on the wall, attach the pipe, and move on. For the El Espino house, though, I start with one small-looking detail: does the support hold the conduit without stopping the movement it needs?
That matters because PVC moves with temperature. A beautifully straight run on installation day can become a very unhappy run later if every support grips it like a vise.
This is the mounting method I am considering for El Espino. The final products, wall conditions, and electrical design still need confirmation; what follows is a practical way to work through the proposal before installation.
Draw the route before drilling it
Start with a simple elevation of the wall: boxes, corners, door openings, and a measured conduit centerline. Mark the access needed at each cover. A box that disappears behind a future cabinet is not much of a maintenance plan.
On that drawing, separate straight sections from bends and mark any part exposed to sun or changing temperatures. Include places where the surface conduit could be struck. Those conditions help determine the appropriate electrical PVC, fittings, supports, and protection. Use electrical conduit, even if plumbing pipe on the next shelf looks similar.
Next comes the actual wall. Is it hollow block, grouted block, or concrete? Is there a coating over it? Are there cracks, damaged shells, or concealed services along the proposed drilling line? Those answers come before turning the drawing into holes. Paint tells me the color of a wall, not what is holding the screw.
The clip needs more than the right diameter
“Metal clip for one-inch pipe” leaves too much unanswered. The exact support needs to suit the chosen electrical PVC and exposure, with instructions that match the intended movement arrangement. A strap labeled for rigid metal conduit is not automatically a PVC accessory just because it fits around the pipe.
For the support layout, CANTEX's catalog gives a maximum interval of three feet for its half-inch through one-inch PVC in the stated support-table conditions. That is the manufacturer reference here. A run looking stiff is no reason to stretch the spacing to four feet. Supports at boxes and terminations also need to follow the applicable requirements, not just a repeating pattern along the middle. The table assumes maximum air temperature of 122°F (50°C) and conductor temperature of 194°F (90°C); different conditions need review. CANTEX electrical catalog, support table, printed page 157
Here is how the hardware fits together:
| Part of the run | What to establish | What to avoid |
|---|---|---|
| Electrical PVC | Correct product, schedule, exposure and fitting system | Selecting by diameter alone |
| Regular supports | PVC compatibility, spacing and intended movement | Tight generic metal clips |
| Expansion arrangement | Fixed point, moving sections and suitable supports | Adding a coupling to an otherwise locked run |
| Wall anchors | Actual masonry, clip thickness and anchor instructions | Treating a hollow cell as solid embedment |
| Boxes | Secure mounting, suitable entries and accessible covers | Using the conduit to hold the box up |
Expansion changes the mounting plan
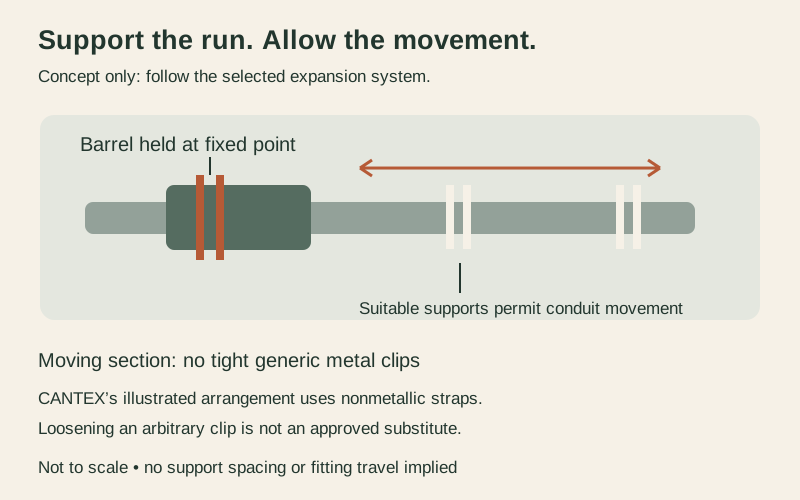
CANTEX's expansion guide explains that the fitting barrel is secured while the conduit supports allow the intended movement. Its instructions specify nonmetallic straps for that arrangement. Tight metal clips along the moving section would work against it; simply loosening arbitrary clips is not an approved substitute.
The guide references an anticipated length change of one-quarter inch or more in a straight run between securely mounted items, such as boxes, cabinets, elbows, or other conduit terminations, as the NEC expansion-fitting threshold. It also warns that sun-heated conduit can be hotter than the air. For El Espino, the actual route and conduit temperature range matter. A tropical climate does not make movement disappear. Fitting travel and its initial setting must suit those conditions. CANTEX expansion-coupling guide
Metal clips therefore need product-specific confirmation before they belong in this run. If the selected expansion system calls for different supports, change the supports. The shopping list is easier to fix than a buckled conduit.
Tapcon selection starts with the block
Tapcon publishes different performance information for concrete and hollow block. Its hollow-block table uses one-inch embedment and includes edge-distance and anchor-spacing conditions. The big ultimate-load numbers are not allowable working loads. A cavity beyond a block shell does not become extra anchorage because a longer screw reaches into it. Tapcon performance tables
Select the anchor using the verified substrate and the support's actual thickness. The small-anchor installation sheet pairs a 3/16-inch anchor with a 5/32-inch bit, and a 1/4-inch anchor with a 3/16-inch bit. Those are two documented combinations, not my selection for this house.
For those anchors, Tapcon specifies drilling one-quarter inch deeper than the embedment, cleaning the hole, and driving with hammering switched off. The specified Tapcon bit and selected anchor instructions belong beside the tools, not somewhere in a browser tab nobody can find. Tapcon installation sheet
Masonry dust needs its own plan. Use compatible drill dust collection and controlled hole cleaning, with appropriate eye, hearing, and other required protection. OSHA's drilling guidance describes shroud-and-vacuum collection and HEPA capture for hole cleaning. Blowing the dust into the room only moves the problem into the air. OSHA drilling dust controls
My empty-raceway sequence
Once the products and wall are verified, lay out the accessible boxes and centerline. Dry-fit the empty pieces to check alignment and fitting locations. Mark supports according to the approved spacing and expansion plan, then check those positions against masonry edges and concealed services before drilling.
Secure the suitable supports with the selected anchors without distorting them. Follow the chosen manufacturer's instructions for cuts, edge preparation, fittings, and solvent cement, including ventilation and cure requirements. Check that the run stays aligned without being forced into the boxes, and that its designated moving sections can operate as designed.
Before conductors enter the picture, record the route, products, and any expansion fittings. The licensed local installer needs to confirm applicable Panama requirements, conductor fill and sizing, protection, grounding, and inspection. These U.S. manufacturer references do not establish Panama law. No panel access or energized work is part of this mechanical walkthrough.
For me, that is the useful version of surface mounting: a route I can understand, supports that do their actual job, and hardware chosen for the wall in front of us. Straight is good. Straight with somewhere to move is better.