El Espino · Ductwork
DIY Galvanized Sheet Metal Ductwork: Pittsburgh Lock Seams for Beginners
By Arthur · Updated November 9, 2026
External sources open in a new tab so you can keep your place.
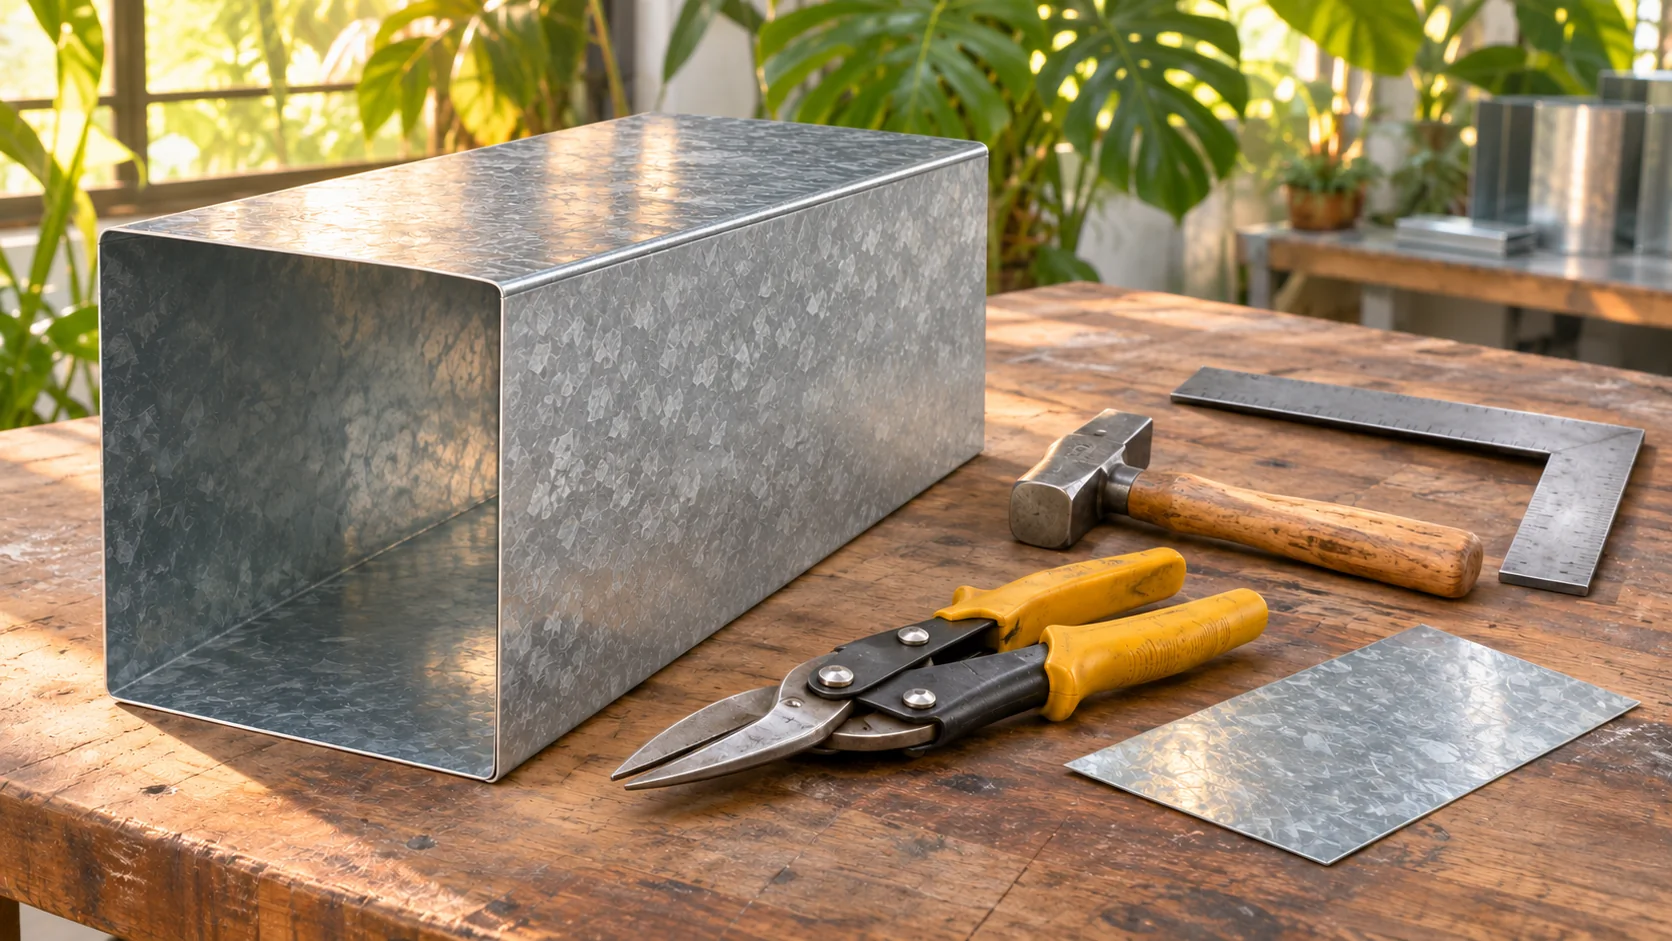
For the El Espino house, I bought tools to make the ducts on site and zinc-coated sheets from Cochez. Now I’m working through how the flat sheets become duct sections, especially the corner where one folded edge catches another and a closing lip locks them together.
That is a Pittsburgh seam. Once you see it in cross-section, the mysterious silver box starts making sense.
I’d learn this on a short practice piece before making anything for the house. A small mistake on a scrap is a lesson. Repeating it down a stack of full-size panels is a rather expensive way to memorize it.
What the seam does
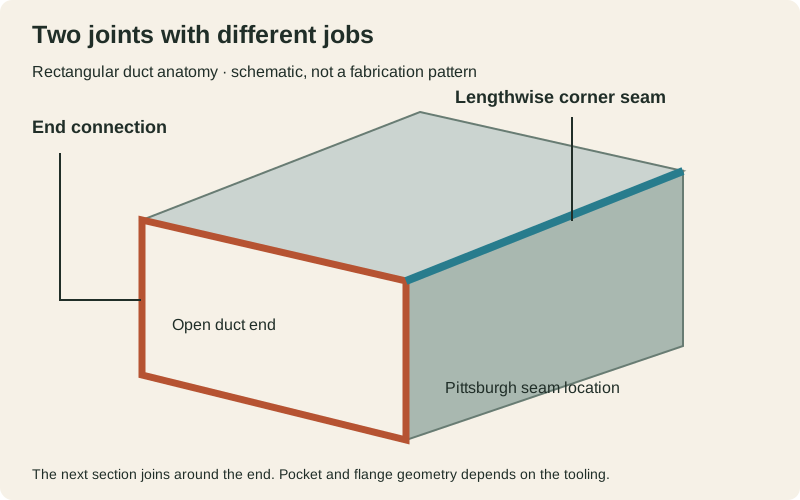
A Pittsburgh connection has three working parts: a receiving pocket, a mating right-angle flange, and an exposed lip that gets folded over to close the lock. The pocket and closing lip belong to one edge; the mating flange belongs to the other. [1]
The flange must sit inside the pocket before that lip closes. Hammering two badly aligned edges until they look flat does not produce the same connection.
On rectangular duct, this seam runs lengthwise along a corner. The connection around the end, where the next duct section attaches, is a separate detail. I’d put both on the drawing so the cutting plan accounts for both.
There is another distinction worth making early: learning to fabricate a duct does not tell me what size the house needs. Airflow, pressure losses, noise, sheet thickness, reinforcement, hangers and end connections need their own design. A beautifully folded duct can still be the wrong duct.
The beginner route I’d take
If my tools cannot produce the required pocket consistently, I can ask a sheet-metal shop for two matching practice pieces: one with the Pittsburgh pocket formed, the other with its matching flange. That gives me a useful reference for fitting and closure before I commit full sheets to the job.
For a straight duct section, shop-formed panels are also a sensible middle ground. I can understand the process, inspect the work and take on the assembly without pretending every operation needs to happen in my own workshop.
| Approach | What I would actually be learning | Main limitation |
|---|---|---|
| Matching shop-formed practice pieces | Engagement, squareness and closure | Does not teach pocket forming |
| Shop-formed full panels | Assembly and checking finished dimensions | Requires an accurate drawing and agreed end details |
| Fabrication with a trained rollformer operator | Layout, forming sequence and assembly | Tooling, training and stock capacity all have to match |
A hand seamer is useful for bending and flattening sheet. It is not automatically a substitute for the rollers that produce a consistent multi-fold pocket. Malco’s fabrication range includes snips, seamers, folding tools, brakes and notchers because those are different jobs. [4]
The tools I bought for on-site ductwork
These are the tools I bought for the on-site ductwork. They cover cutting, bending and handling the sheet. Before making a full duct section, I still need to confirm how I will form the matching Pittsburgh pocket and flange with the actual stock.
The Amazon links below are affiliate links. As an Amazon Associate I earn from qualifying purchases.
- Uttempt 7-inch two-station sheet-metal roller. For progressively bending a straight sheet edge. Its advertised 0–100° range does not establish that it can form a complete Pittsburgh pocket.
- WOTAHI rubber mallet and nylon installation hammer set. A 16-ounce rubber mallet and a nylon-faced installation hammer for controlled tapping. A soft face alone does not prove that a Pittsburgh seam is fully closed.
- NORTOOLS drill-powered sheet-metal cutter attachment. For cutting sheet with a compatible drill. I need to check the attachment instructions, drill fit and capacity for the actual sheet before cutting.
- Covzoe three-piece hand-seamer set. Straight, 45° and 90° jaws for gripping, bending and flattening accessible sheet edges. Those angles describe the jaw arrangements, not three finished duct profiles.
- Zeluga 10-128 left- and right-cut aviation snips. The pair includes ZL125L and ZL126R snips for cutting and trimming sheet. The cutting direction helps me keep the waste out of the way.
- HURRICANE 18-inch sheet-metal folding tool. Its listed 3/8-inch and 1-inch fold depths are tool features. They are not automatic cutting allowances for the Pittsburgh seam I want to make.
Buying the tools and sheet is the preparation stage. The next check is a short sample made from the actual material, with the finished seam inspected from the end. I would confirm the sheet thickness with Cochez and compare it with each tool’s instructions before cutting or forming; the purchase alone does not establish a gauge or a suitable duct specification.
For the drill attachment, secure and support the sheet, keep hands clear of the cutting parts and disconnect the drill’s power before fitting or adjusting the attachment. Follow its instructions for the required drill and material. For hand bending, keep fingers clear of the closing jaws and support long edges so they do not whip or twist.
What belongs on the bench
For practice assembly, I’d gather the matching galvanized pieces, a square, tape measure, marker, suitable clamps, a stable support and a sheet-metal hammer. A sample of the intended closed profile is particularly helpful: I want something to compare with, not just a vague idea of “flat enough.”
For cutting and forming, add rated snips or shears, appropriate edge-finishing tools, a folding tool or brake, and the actual pocket-forming equipment or shop service. Check each tool’s capacity for the specified material. The smallest capacity in the sequence can become the bottleneck.
Sharp stock deserves cut-resistant protection during handling and eye protection during cutting and closure. Powered machinery has its own entanglement rules; gloves are not a universal answer beside rotating rolls. Clear loose clothing and follow the machine’s operating instructions. Tin Knocker specifically restricts operation to trained personnel, requires guards, and warns that its rolls rotate whenever the motor is powered. Switch off and isolate the machine against accidental starting before clearing a jam, cleaning or making adjustments; follow the identified machine’s procedure. [2]
First, settle the allowance
The metal folded into a seam must come from somewhere. That extra width is the seam allowance, and it belongs to the actual profile being formed.
For example, Lockformer lists a 5/16-inch pocket and 7/32-inch right-angle flange for its Model 24, with the lock allowance shown as 1 inch to 15/16 inch. Those figures describe that tooling. They are not a universal Pittsburgh pattern. [1]
Tin Knocker’s older TK24 manual instead describes roughly 7/8 inch of material consumed. Its current product page lists a 3/16-inch flange height, while the older manual describes 7/32-inch power flanging. [2, 3]
That disagreement is a good reason to check the machine in front of me. I would have the operator form a sample from the proposed stock and confirm the take-up before cutting a batch. Copying dimensions from a different machine’s brochure could leave every panel wrong by the same annoying amount.
From flat sheet to a closed corner
Here is the practical sequence I’d use with the shop or trained operator. The exact order around end connections may change to suit the tooling.
1. Draw the finished section. Mark the required inside width, height and length. Show which edges receive pockets, which receive flanges, and which ends need connection allowances. Label body bend lines separately from cut lines. A seam allowance should never quietly become extra duct width.
2. Prove the layout on a short piece. Form and assemble the sample, then measure the resulting geometry. Check that the mating flange seats properly and the closure matches the intended profile. Only after that would I transfer the confirmed layout to longer panels.
3. Cut and prepare the edges. Support the sheet so it does not sag or pull the cut off line. Keep offcuts controlled. Remove hazardous burrs and flatten snip distortion without damaging the planned folds. Tin Knocker warns that burrs and twists can damage its pocket-opening roll. [2]
4. Form the pocket while the panel can feed correctly. The operator follows the identified machine’s guide and support requirements. Long body bends can obstruct feeding, so I would establish the forming sequence before folding the panel into a box. Form the matching right-angle flange with the appropriate folder, brake or flanging attachment.
5. Make the body bends and bring the panels together. Check the angle and finished dimensions. Engage the mating flange in the receiving pocket along the full length. Support the panels rather than letting their weight twist the joint. If the flange keeps escaping, stop and check the profile, squareness and alignment.
6. Close the projecting lip progressively. With the corner supported, work along it in controlled passes, folding the lip over to capture the seated flange. Keep checking the unclosed section as you go. The objective is consistent engagement and closure, not winning an argument with the hammer. Manual hammer closure is an established method; dedicated seam-closing machines mechanize that job. [5]
7. Inspect before moving on. Look for splits, a flange sitting outside the pocket, an incompletely closed lip, sharp projections or a twisted panel. On the practice piece, inspect the end cross-section as well as the outside. A tidy-looking ridge can hide poor engagement.
When the seam fights back
If the pocket will not accept the flange, I’d check for burrs, distortion and mismatched tooling dimensions first. If a corner bows as it closes, I’d check panel support and alignment rather than applying more force.
If the sample dimensions are wrong after folding, I’d correct the developed layout before making the next panel. Trimming random edges to rescue the first attempt can obscure the original error.
A questionable practice seam is cheap to replace. That is exactly why I would start there.
The final jobs happen after the lock closes
The specified end connections still need to be fitted, and the assembled duct needs its prescribed sealing and inspection. A mechanical lock is not proof of airtightness. I’d use the sealant and sealing method specified for the duct system, with access to the joints before insulation covers them.
For El Espino, this makes the first useful milestone quite small: a correctly formed, square practice assembly that can be inspected from both sides. From there, a confirmed fabrication drawing and shop process can turn the lesson into usable ductwork. With the tools and sheets already bought, proving one good corner is the next useful step before cutting a batch.
Sources and further reading
- Mestek Machinery, Lockformer Pittsburgh rollformers
- Tin Knocker, TK24 instructions, pp. 2–4
- Tin Knocker, current TK24 product specifications
- Malco, sheet-metal fabrication tools
- Mestek Machinery, seam-closing equipment
Manufacturer sources checked November 8, 2026. Product examples explain the method; actual tooling, regional products, duct design and operating conditions determine the El Espino installation details.