El Espino · Interior partitions
Framing Interior Walls in a CMU House: 2.5-Inch Metal Studs vs. Wood
External sources open in a new tab so you can keep your place.
For my El Espino house, I’m examining lightweight interior partitions inside the CMU shell, with 2.5-inch metal studs as one option and wood framing as the comparison. The proposed metal specification says “24 gauge.” That gives us a starting point, but it doesn’t yet identify a product or tell us how high the wall can safely go. Earlier, I had considered thinner 28-gauge framing with drywall for the interior. Here I’m comparing the 24-gauge proposal, with the actual profiles, wall heights and complete assemblies still to be checked before a final specification.
These partitions divide rooms. They are not being proposed as supports for the roof or floor. They still have work to do: hold their finishes, stay reasonably stiff, accommodate services and support whatever we deliberately attach to them. A kitchen cabinet is very good at exposing a wall detail someone forgot.
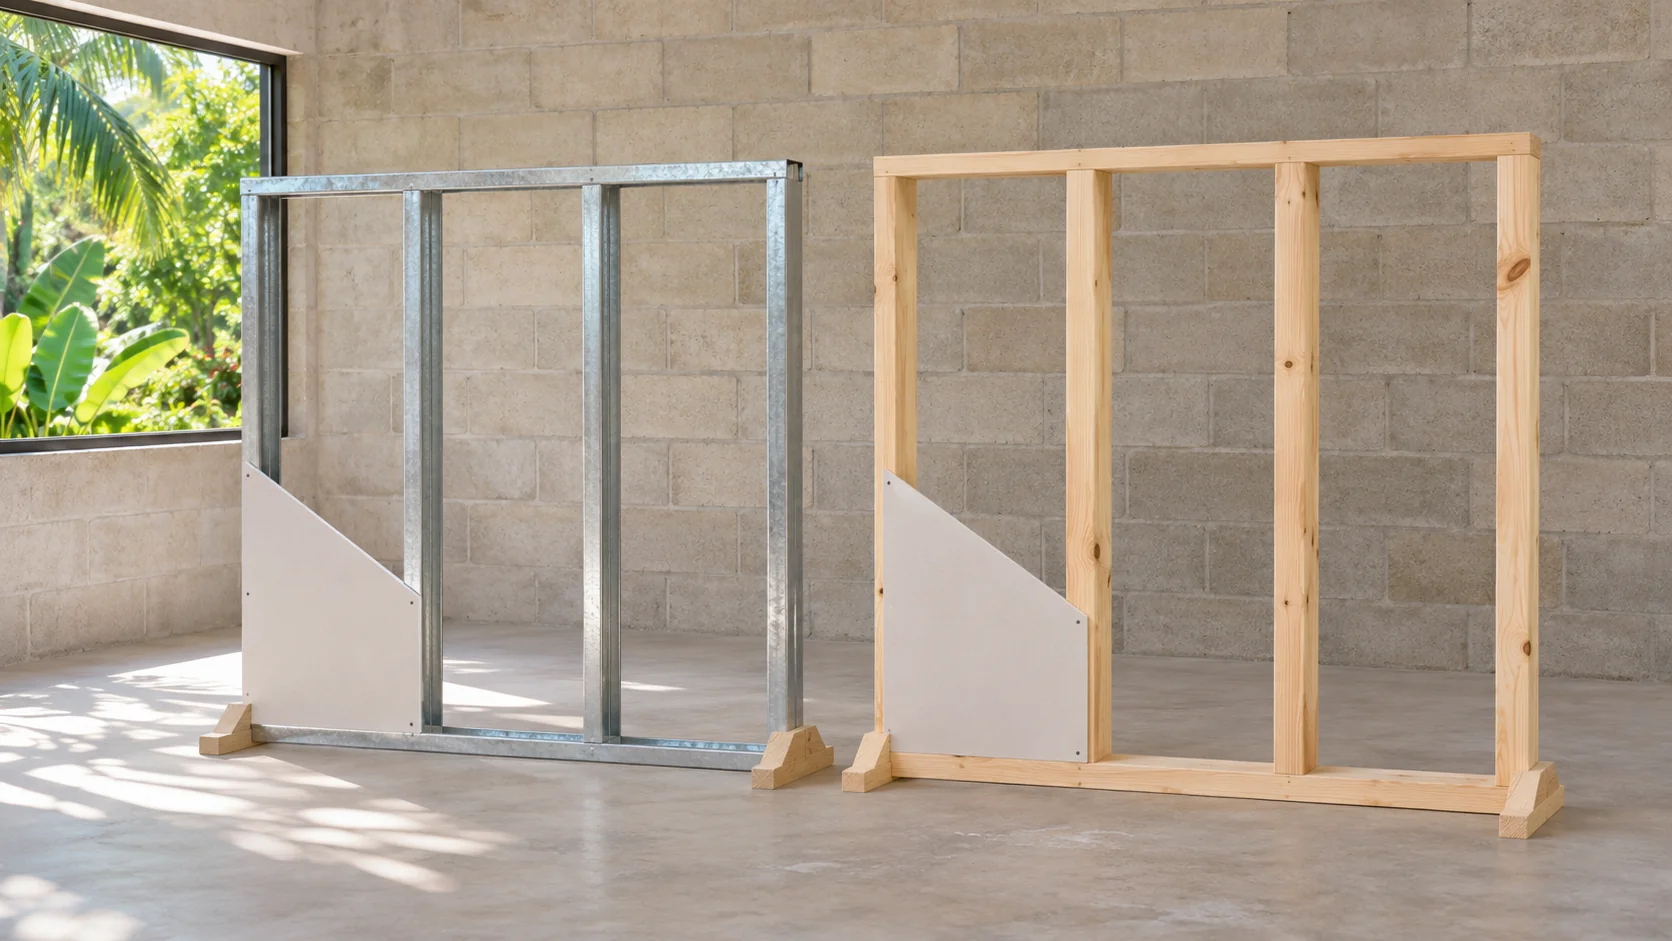
What the two numbers actually mean
A 2.5-inch stud is about 63.5 mm deep across its web. The finished wall also includes its boards and finishes. For illustration, adding one 1/2-inch (12.7 mm) board on each side gives 3.5 inches (88.9 mm) before finishing. That is arithmetic, not an approved wall assembly or board recommendation.
“24 gauge” needs more investigation. Nominal gauge labels, particularly with proprietary equivalent-performance products, are not a reliable substitute for actual base-metal thickness. The supplier’s information needs to identify the profile, thickness, steel strength, coating and matching track.
ClarkDietrich’s identification sheet is a useful example: its proprietary ProSTUD 25 and ProSTUD 20 have different stated thicknesses and strengths. Those products do not establish the properties of an unidentified local 24-gauge stud. For El Espino, the actual product label and technical sheet have to travel together. Manufacturer product identification.

Metal versus wood, without choosing a winner on paper
| Practical issue | Light-gauge steel | Wood |
|---|---|---|
| Straightness | Manufactured profiles make repeated layouts convenient; bent pieces still need rejecting. | Select straight, suitably dry pieces; moisture movement needs consideration. |
| Working with it | Light members are manageable, but sharp edges and thin flanges require care. | Familiar cutting and fastening for a carpentry crew. |
| Fixtures | Concentrated loads need suitable backing and connections. | Blocking is straightforward, but still needs adequate connections. |
| Durability | Steel is not termite food; coating and moisture exposure matter. | Termite exposure and moisture protection need attention. |
| Cost and time | Depend on local supply, complete wall details and crew experience. | Depend on timber quality, supply, preparation and crew experience. |
Steel can reduce termite-vulnerable framing, but that does not make the whole house termite-proof. Wood backing, trim and other materials remain separate considerations. Likewise, galvanized steel still needs protection from persistent moisture and an appropriate coating for its exposure.
Wood deserves a fair comparison. A crew comfortable with carpentry can frame openings and add backing efficiently. Metal can streamline repeated partitions when the crew knows the system. Neither advantage proves a saving at this house. Comparing complete installed walls, rather than the price of one stud, is the useful exercise.
Start with the rooms, then choose the assembly
My starting point for the comparison is the wall plan: bedrooms, bathrooms, plumbing walls, doorways and places for cabinets or equipment. A dry bedroom partition and a tiled shower wall may need different details even when they look similar on a floor plan.
Each wall needs its actual height, lining, stud spacing, support condition and required stiffness established together. A frame extending above a suspended ceiling may be taller than the room appears. Fire and sound requirements also belong in the assembly selection, not in a last-minute shopping decision.
The manufacturer’s height tables explain why this matters. ClarkDietrich’s full-composite tables depend on specified board attached vertically, full height on both faces, including attachment to the top and bottom tracks. Those tables exclude several alternatives, including half-inch board and deflection tracks. Separate systems have separate conditions. I can’t borrow a generous height from one table and apply it to another wall. ProSTUD catalog, limiting-height guidance.
The local designer needs to confirm the selected assembly against the applicable requirements, including its connections to the CMU house. These manufacturer examples explain the decision; they do not approve the proposed El Espino stud.
How the partition comes together
Follow the tool and board manufacturers’ safety instructions for sharp metal edges, cutting and sanding, including suitable eye and hand protection and dust control.
1. Lay out the finished rooms. Mark wall lines, door swings and openings, allowing for board and finish thickness. Transfer the layout to the intended upper support and check alignment. An opening that looks generous between bare studs can become surprisingly modest after the frame and finishes arrive.
2. Establish the attachments. Steel uses tracks; wood uses plates. In either case, the connection depends on what is underneath or behind it: concrete, grouted masonry and a hollow block face are different substrates. Anchor selection, embedment, edge distances, spacing and moisture separation need a project-specific detail. A suspended gypsum ceiling is not a substitute for an adequate structural restraint.
3. Handle movement deliberately. Where the structure above can deflect, the nonbearing wall needs an appropriate head detail. Fasteners must not accidentally lock a movement joint. The junction with the CMU also needs a planned finish detail so differential movement is addressed rather than merely hidden under compound.
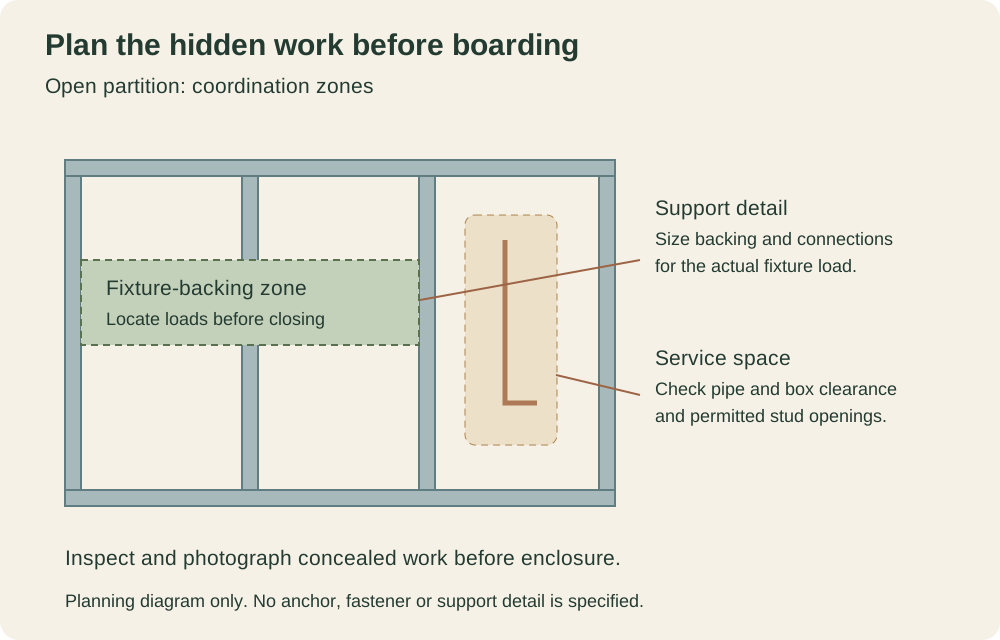
4. Frame doors and backing before closing. Jambs and headers must suit the opening and door weight. Cabinets, grab bars, shelves and wall-mounted equipment need backing connected into the frame. More screws through gypsum do not solve a missing support. Metal backing is an option where avoiding wood is part of the design; any wood blocking should be an explicit choice.
5. Fit the services, then inspect. A 2.5-inch (63.5 mm) cavity may be too shallow for some pipes or boxes. Coordinate those dimensions before buying the frame. Use permitted openings, protect cables at metal edges with suitable bushings, and keep cuts within the product’s rules. Cutting away a flange to rescue a plumbing route changes the member. Photograph backing and concealed services before the second face closes them in.
6. Install the boards as a system. Begin with straight, dry, properly restrained framing. Follow the selected assembly for board orientation, layers, supported edges, joint locations and fasteners. The screws must suit the actual steel thickness or wood substrate. Set screw heads correctly without tearing the paper, then tape, finish, allow drying, sand and prime. USG’s installation guide explains these board-handling and finishing fundamentals. Required fire or acoustic seals also need their specified details. Sheetrock installation and finishing guide.
Give wet walls their own detail
In a bathroom, framing, tile substrate and waterproofing must work together. Moisture-resistant board alone does not describe a complete shower system. USG’s Fiberock guide, for example, calls for suitable framing and product-specific fasteners. The chosen local board needs its own instructions. Fiberock installation guide.
Keep stored boards and unfinished walls out of standing water, and fix leaks before enclosure. USG specifically requires gypsum panels to be protected from excessive or continuous moisture before, during and after installation. Gypsum-panel moisture guidance.
Where this leaves the El Espino comparison
The 2.5-inch steel option is worth examining, especially for repeatable lightweight partitions. Wood remains a practical alternative. The next useful comparison is two complete wall proposals using actual local products, matching openings, finishes and fixture loads. Then material quantities and installation work can be priced fairly. Until those details are settled, neither a guaranteed saving nor a universal height limit belongs beside “24 gauge.”