Outdoor Lighting Planning: See the Task Without Lighting the Neighborhood
By Best House Ideas · November 8, 2026
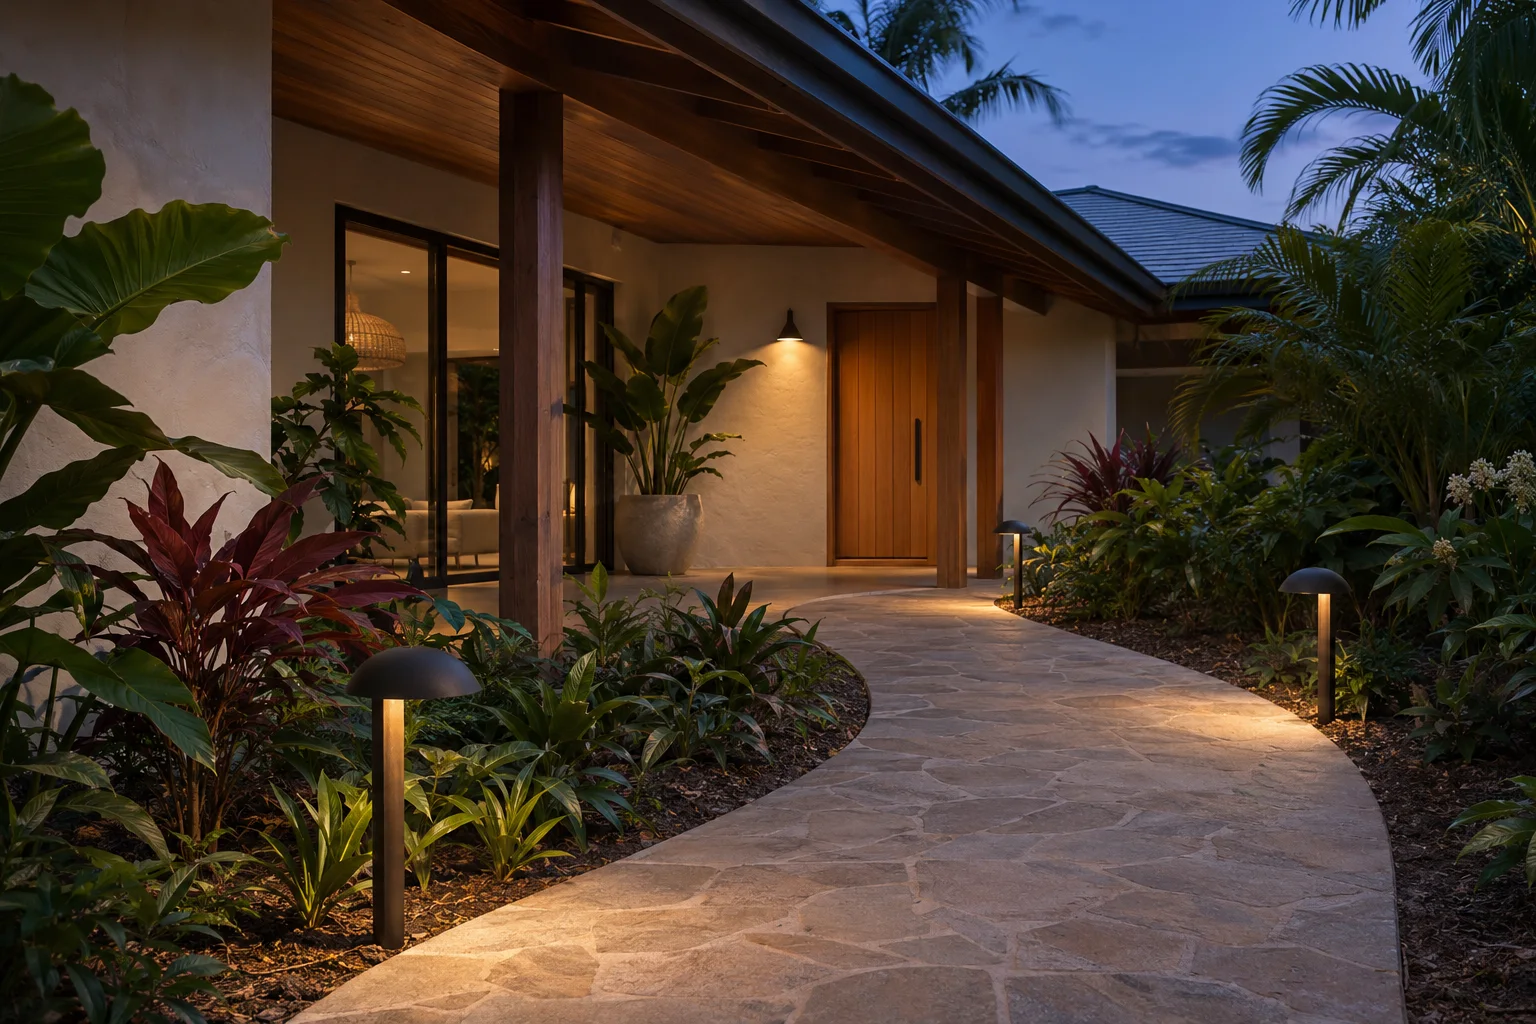
AI-generated illustrative scene of a tropical entrance with localized path and entry lighting, not an actual project or an installation layout. Light levels and safety performance are not assessed.
External sources open in a new tab so you can keep your place.
A front entrance can look bright from the street while the person at the door struggles to find the keyhole. A terrace can feel pleasant from one chair and uncomfortable from another. These are reasons to begin an outdoor-lighting plan with people and viewpoints, before choosing fixtures from a catalog.
The useful result is a short brief describing what must be visible, when lighting is needed and where light should not go. This guide helps homeowners prepare that brief and review a proposal. It does not specify wiring, mounting positions, electrical protection or light levels. Have qualified lighting and electrical professionals assess the actual property, equipment and applicable requirements.
Give each light a job
Walk through the intended evening activities in words: arriving with groceries, identifying the entrance, using a latch, seeing a change in level, sitting at a table or taking out a bin. “Light the garden” leaves too much unresolved. “Make the route from the door to the bin enclosure understandable when someone uses it” gives the designer a task and a time of use.
The principles published jointly by DarkSky and the Illuminating Engineering Society call for a clear purpose, controlled direction, only the output needed, appropriate operating times and warmer-colored light where possible. They also ask designers to consider wildlife and habitat. These are starting questions rather than a universal fixture specification. [1]
Separate essential movement and task lighting from optional decorative effects in the brief. Ask which functions can be controlled independently. A late arrival should not automatically require every decorative feature to remain illuminated. Equally, switching off decoration should not unexpectedly remove lighting needed for a route still in use. Have the designer resolve any required continuous or emergency lighting separately.
For an unbuilt home, mark tasks and viewing directions on the current landscape and entrance plan. Label them as intended uses. For an occupied home, record actual routines as well as wishes, including someone who moves more slowly or uses the space from a seated position. Avoid treating one person's preference as everyone's experience.
Distinguish useful light from glare and spill
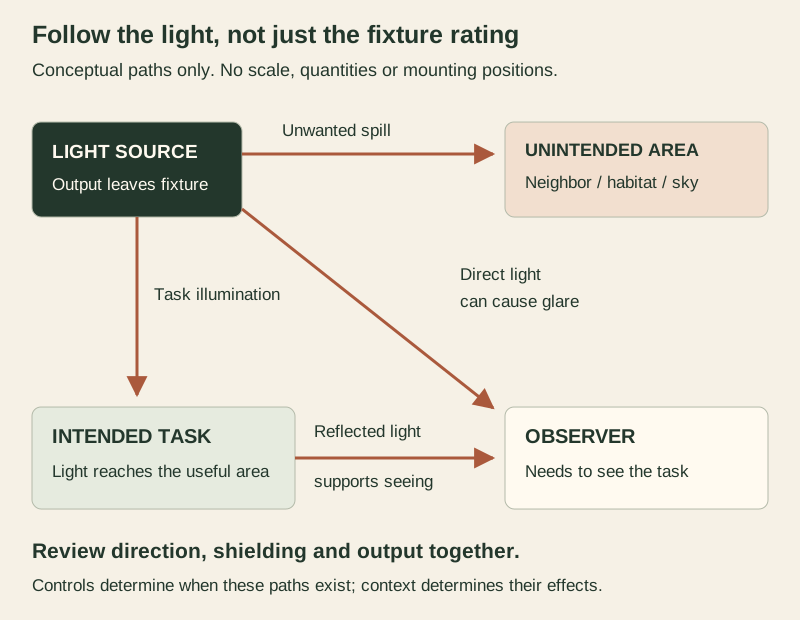
Glare concerns what reaches the viewer's eyes. DarkSky distinguishes glare that causes discomfort from glare that reduces visual performance. Light spill concerns unwanted light reaching adjacent areas. A fixture can therefore illuminate its intended surface while still creating a problem for someone looking toward it or for a neighboring property. [2]
Review a proposed fitting from the approach, the return journey and the places where people stop. Note whether the bright source dominates the view or whether the intended object remains easy to recognize. A seated view deserves its own check; a standing demonstration does not establish comfort at the outdoor table.
Ask the designer to explain the proposed shielding, direction and output together. DarkSky's principles recommend directing light only where needed and considering reflected light from surfaces. [1] A product photograph cannot show the result against your paving, walls and windows. Keep observations about direct light and reflections separate so the next revision addresses the correct cause.
Keep product numbers in context. Fixture lumens describe emitted light output; fixture watts describe power consumed. Neither number alone describes the view from your table or how light falls on the latch. [2] Ask for the proposed distribution and a nighttime review rather than comparing only headline output. Any required measurements belong to the professional assessment.
On a small screen, swipe or scroll the diagram horizontally to read every panel.
Original light-path concept, not a fixture layout, beam calculation or installation detail. The same source can send light toward a task, an observer and an unintended area. Arrow lengths and widths do not represent measured light quantities.
The original light-path diagram distinguishes light reaching the task from direct glare toward a viewer and spill beyond the intended area. It is conceptual, not a photometric model, wiring diagram or recommended installation layout.
Compare controls by what they actually respond to
A control responds to a signal or instruction. That signal may be a person operating a switch, a schedule, ambient light or detected movement. The important comparison is whether that signal matches the household's use. The Australian Government distinguishes motion-based operation from timers, which follow expected use rather than detecting occupancy. [3]
Outdoor lighting control functions and proposal checks
Control approach
What changes operation
Useful match to discuss
Question to test in the proposal
Manual switching
A person requests light
Deliberate use of an outdoor sitting or task area
Can household members operate the intended zone without confusion?
Timer or schedule
A programmed time, rather than actual occupancy [3]
A repeatable period of decorative lighting
What happens if guests stay later or routines change?
How are missed detection and unwanted activation handled?
Dimming
A manual or automatic request changes output; compatible equipment is required [4]
Different activities using the same area
Does the proposed combination operate smoothly over its intended range?
On a small screen, swipe the table horizontally to see every column.
This is a functional comparison, not a ranking of reliability or a promise of savings. Ask the installer to demonstrate the chosen behavior with the actual equipment. PNNL's Building America guidance notes that dimmable LED equipment needs compatible drivers and controls; a dimming label alone does not settle the combination. [4]
Write down the desired sequence in ordinary language. For example, “The arrival light should respond to someone using this entrance after dark; decorative lighting should follow its own agreed schedule.” Then ask how that sequence is implemented and what the user can override. Avoid prescribing a universal delay or detection distance.
For app-controlled equipment, ask what remains available without the phone, network or online account, and what happens after power returns. Have the supplier identify which functions depend on which services. Record the demonstrated behavior rather than assuming that every product described as smart works the same way.
Include neighbors before the final adjustment
Mark nearby windows, occupied terraces, shared paths and road-facing views on the discussion drawing without recording private household details. Ask which viewpoints the lighting professional will review. Where a useful viewpoint is on another person's property, obtain permission rather than entering to inspect it.
A courteous conversation can reveal an issue that is invisible from your own patio. Ask whether a particular light is noticeable at an unwanted time, and from which direction. Request practical observations rather than debating whether the fitting is technically bright. Bring the feedback to the designer with the relevant control mode and time noted.
Keep decorative goals negotiable while these effects are checked. If habitat or a sensitive shoreline is nearby, ask the appropriate local specialist what additional assessment is needed. Do not adopt a generic color-temperature number as proof of wildlife suitability. The general preference for warmer-colored light does not replace a site-specific review. [1]
Match equipment to the actual exposure
A covered area can still have complicated exposure. Describe observed wind-driven rain, irrigation spray, roof runoff, standing water, salt exposure and strong sun to the professional. Record what you know and what needs checking. Do not classify the location yourself from a catalog picture or the presence of a roof.
UL describes outdoor luminaire evaluations that address wet-location requirements and, for some products, ingress protection against moisture and dust. These concern specific product evaluations, not a guarantee that any outdoor-labeled product suits every exposure. [5] Request the actual product documentation and have the installer confirm suitability for the proposed orientation and conditions.
An IES technical article emphasizes coordination among the specifier, manufacturer and installer for wet-location products. It also distinguishes water-related testing from corrosion and ultraviolet concerns. [6] Ask separate questions about moisture, finish durability and exposed materials. A single marketing term such as weatherproof is not a complete answer to all three.
Keep pools, water features and other specialized locations outside an ordinary garden-lighting selection exercise. Have their requirements assessed explicitly. Do not open equipment, add improvised shields, alter seals or attempt wiring work to solve an observation from this guide.
Use one observation sheet for both proposals
The following original worksheet makes comparisons repeatable. Complete one sheet for each important task or viewpoint. For a new build, fill the first two columns during design and the observation column during the professional nighttime review. Leave unavailable evidence marked pending.
Outdoor lighting observation worksheet
Item
Record before selection
Record during review
Task and user
What the person needs to see; standing, moving or seated
Whether the task is understandable from that position
Viewpoint
Approach, return route, table or authorized boundary view
Visible bright source, distraction or unwanted reflection
Operating condition
Intended time and control mode
What caused activation, adjustment and switch-off
Surrounding conditions
Relevant surfaces, planting and exposure questions
Date, weather and any temporary obstruction
Neighbor effect
Viewpoints requiring consideration
Specific concern, permission obtained and follow-up needed
Decision
Question each bidder must answer
Accepted behavior, unresolved issue and responsible person
On a small screen, swipe the table horizontally to see every column.
Use the same task descriptions when comparing quotations. Ask each bidder to identify exclusions, equipment and controls, the nighttime adjustment visit, documentation and responsibility for resolving problems. A lower fixture count or a brighter headline output is not enough information to compare two different scopes.
Keep the intended result working
Before handover, ask who will maintain the fittings and how the manufacturer expects cleaning and servicing to be handled. Clarify what is replaceable, which components require professional attention, and whether replacement parts or an entire fitting would be needed. Keep these answers with the equipment model and warranty rather than relying on a general lifetime claim.
After planting changes, a fitting is replaced or a control setting is altered, repeat the affected observations. Look from safe, accessible positions only. Record damage, moisture inside a fitting or erratic operation and refer it to a qualified professional instead of opening the equipment yourself.
A completed lighting plan should leave the household able to explain each zone: its task, operating behavior, exposure assumptions and unresolved limits. That provides a practical basis for later adjustments while keeping the original goal clear: useful evening visibility with deliberate boundaries around where and when light is used.
Source notes: Accessed November 8, 2026. These sources support general lighting and product-assessment distinctions, not Panama-specific approvals, local code claims or a design for any property. U.S. multifamily and Australian commercial guidance is used only for control functions, not occupancy rules, energy predictions or installation prescriptions. The worksheet, comparison questions and light-path diagram are original editorial tools. No project photographs or personal images are used.